产品展示
联系我们
联系人:陈柳铭
手机:15579209656
电话:
Q Q:3136378118
邮箱:3136378118@qq.com
地址:江西省九江市瑞昌市东益路23号赛湖农商城401号


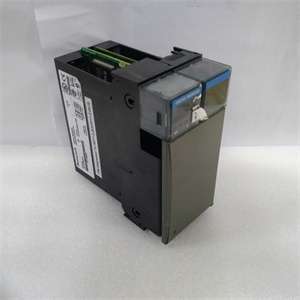
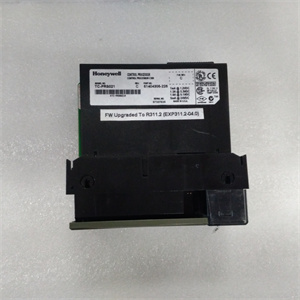
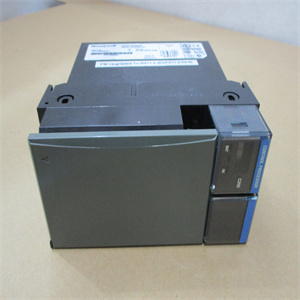
DDC01.2-N200A-DS01-02-Fw
在安装设备之前安装软件。有关软件安装顺序的具体说明,请参阅以下相应的发行说明。1、安装应用软件如果您使用的是LabVIEW、LabWindows/CVI或其他国家仪器应用软件包,请参阅相应的发行说明。2、安装NI-DAQ驱动程序软件请参阅您的NI-DAQ发行说明,并遵循其中针对您的操作系统和应用程序软件包给出的说明。现在可以安装硬件了。硬件安装您可以在计算机中任何可用的PCI/PXI扩展插槽中安装PCI/PXI设备。但是,为了获得佳的噪声性能,请在设备与其他设备和硬件之间留出尽可能多的空间。以下是一般安装说明,但有关具体说明和警告,请参阅您的计算机用户手册或技术参考手册。♦ PXI-您可以在PXI或CompactPCI机箱中的任何可用PXI插槽中安装PXI。注意:PXI-连接到CompactPCI J2连接器上的多条保留线路。在CompactPCI系统中安装PXI之前,请参阅1章,将PXI与CompactPCI一起使用。CompactPCI系统使用J2连接器线路用于PXI以外的用途。2章安装和配置PCI/PXI-用户手册2-2©National Instruments Corporation 1。关闭并拔下PXI或CompactPCI机箱。2、选择未使用的PXI或CompactPCI外围插槽。为了获得佳性能,请将PXI安装在支持总线仲裁或总线主卡的插槽中。PXI包含板载总线主DMA逻辑,只能在这样的插槽中运行。如果选择的插槽不支持总线主机,则必须使用软件禁用板载DMA控制器。PXI兼容机箱必须对所有插槽进行总线仲裁。3、卸下所选外围插槽的过滤器面板。4、触摸底盘上的金属部件,以释放衣服或身体上的静电。将PXI设备插入5 V插槽。使用喷射器/喷射器手柄将设备完全喷射到位。将PXI的前面板拧到PXI或CompactPCI机箱的前面板安装导轨上。目视检查安装情况。8、插入并打开PXI或CompactPCI机箱。PXI现已安装。
Install your software before you install the device. Refer to the appropriate release notes indicated below for specific instructions on the software installation sequence. 1. Install your application software—If you are using LabVIEW, LabWindows/CVI, or other National Instruments application software packages, refer to the appropriate release notes. 2. Install the NI-DAQ driver software—Refer to your NI-DAQ release notes and follow the instructions given there for your operating system and application software package. You can now install your hardware. Hardware Installation You can install the PCI/PXI- device in any available PCI/PXI expansion slot in your computer. However, to achieve best noise performance, leave as much room as possible between the device and other devices and hardware. The following are general installation instructions, but consult your computer user manual or technical reference manual for specific instructions and warnings. ♦ PXI- You can install the PXI- in any available PXI slot in your PXI or CompactPCI chassis. Note The PXI- has connections to several reserved lines on the CompactPCI J2 connector. Before installing the PXI- in a CompactPCI system that uses J2 connector lines for a purpose other than PXI, see Chapter 1, Using PXI with CompactPCI. Chapter 2 Installation and Configuration PCI/PXI- User Manual 2-2 © National Instruments Corporation 1. Turn off and unplug your PXI or CompactPCI chassis. 2. Choose an unused PXI or CompactPCI peripheral slot. For maximum performance, install the PXI- in a slot that supports bus arbitration or bus-master cards. The PXI- contains onboard bus-master DMA logic that can operate only in such a slot. If you choose a slot that does not support bus masters, you will have to disable the onboard DMA controller using your software. PXI-compliant chassis must have bus arbitration for all slots. 3. Remove the filter panel for the peripheral slot that you have chosen. 4. Touch a metal part on the chassis to discharge any static electricity that might be on your clothes or body. 5. Insert the PXI- device in the 5 V slot. Use the injector/ejector handle to fully inject the device into place. 6. Screw the front panel of the PXI- to the front panel mounting rails of the PXI or CompactPCI chassis. 7. Visually verify the installation. 8. Plug in and turn on the PXI or CompactPCI chassis. The PXI is now installed.
相关产品
-

MAC90C-0-GD-C-110-A-0/MR119/5001外观授权
-

MAC071C-0-NS-4HC/095-B-0/WI518LV重量颜色
-
MAC090B-0-PD-4-C/110-A-0/WI/520LV-/S005外观授权
-
MAC090C-1-GD-1-B/110-A-0/-101250重量颜色
-

MAC90C-0-KD-3-C.110-A-D.S001产品尺寸
-

MAC90A-1-RB-1-B/110-A-1/J625速度数量
-
MAC112D-0-ED-1-B/130-A-0/J1250/S05产品尺寸
-
MAC093C-2-FS-4-C-110A-0-WI520LX-S001速度数量

